Want to up your pour painting game? We’ve been playing around with this fun medium for a while now and have picked up a few pouring hacks along the way. Whether you’re a beginner or a pro, we’ve compiled our top picks below.
1. Choose the right cup size for your surface

Before you get started, think about how much paint you’ll need for your surface size. It might be worth noting down what works as you go so that you can reference it later. This will help prevent any paint wastage and cover your surface properly.
2. Create your own medium

If you want to convert regular acrylic paints to pouring paints, you can either use a pre-made pouring medium or make one from scratch. Our go-to pouring medium recipe is:
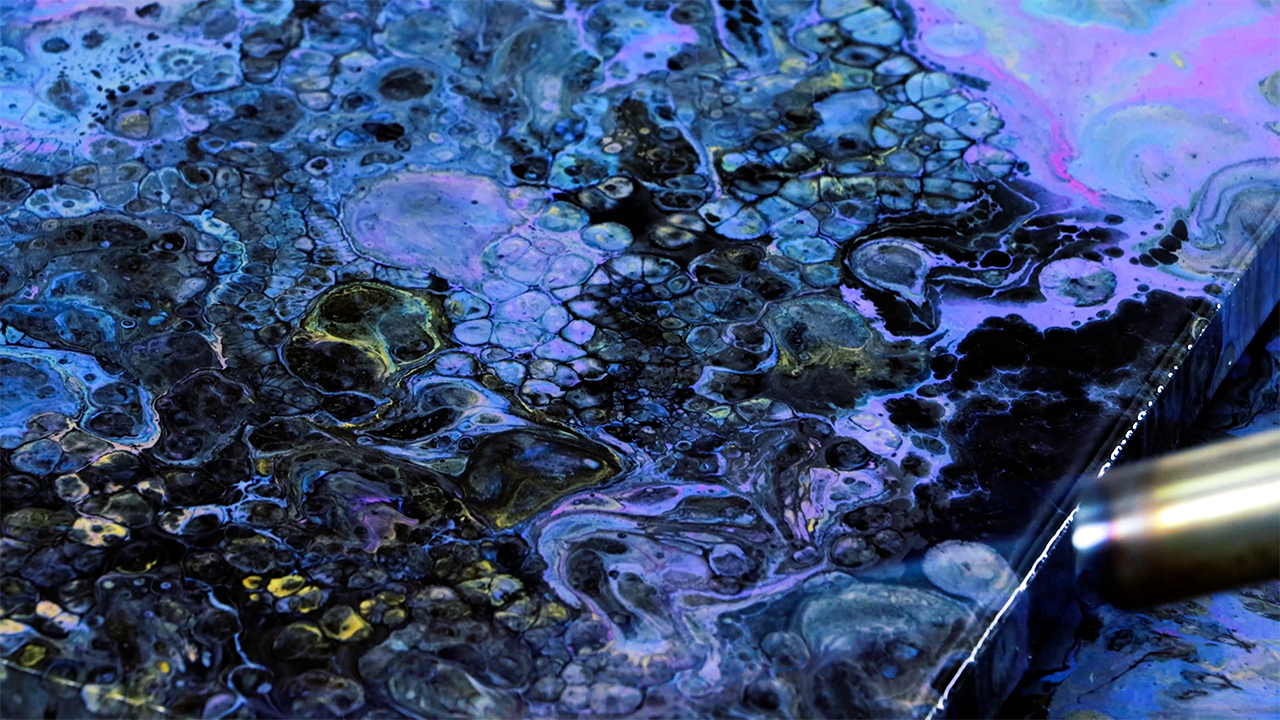
3. Mix in silicone oil to create more cells

Bring out even more cells in your painting by adding a dash of silicone oil. For best results use maximum 2-3 teaspoons of silicone oil to 200ml (6.8oz) of pouring paint.
4. Create bigger cells by tilting slowly

Want to create bigger cells? Tilt your artwork slowly and at a gentle angle to give the paint time to spread without mixing together too much.
5. Lift your artwork with spare cups

Putting cups under your painting while it dries will allow excess paint to drip off so that you have nice, clean edges.
6. Pour excess paint on the corners

Saving a little bit of paint in your cup will come in handy if you need to fill in any gaps at the end of your pour. This often happens on the corners and edges where the raw surface may stay exposed.
7. Use the end of your brush to move paint around

The end of your paint brush is a great tool for creating patterns and guiding paint around your pour painting. Make sure you wipe it after using it on each area if you don’t want to mix the colours around too much.
8. Bend your cup for thin lines

To create controlled, thin lines in your pour painting you can bend paper cups to form a spout. Make sure you don’t squeeze it too quickly or it might get messy!
9. Increase vibrancy with acrylic medium gloss

This simple acrylic pouring hack is a great way to take your artwork to the next level. Once your pour painting is dry, you can increase the vibrancy by adding a thin coat of acrylic medium gloss or pouring paint varnish.
10. Remove excess silicone oil with cornflour

If you’ve added silicone oil to your artwork, you’ll need to clean off the excess before adding foil paint or varnish. You can do this by sprinkling cornflour or talcum powder onto the surface and spreading it with a large soft brush. Need some pointers? We show you how to clean silicone oil from your artwork at the start of our fluid art special effects video.
11. Clean your cups before the paint dries

If you want to recycle your cups for the next session, we’d recommend cleaning them up before the paint dries. Simply wipe out excess paint and then give them a quick rinse.
12. Store paintings upright with baking paper between them

Last, but not least, place baking paper between your artworks and store them upright to prevent them from sticking together and getting damaged.
For more fluid art tips check out our video lessons on flip cup and puddle pour painting, creating cells with silicone oil and DIY fluid art special effects. We’d also love to see your artworks, so feel free to tag us on Instagram or Facebook using @montmarteart.


