


Whether it’s a lake, river or the ocean, water is a great source of inspiration. We’ve learnt a lot about painting water over the years, so we decided to share our 10 tips for water painting with you! Let’s get that creativity flowing.
1. Lay down a base coat
Learning how to paint water can be a little tricky. So first things first, let's add a base colour to your canvas to help create depth and to make sure there are no bare areas. When you’re painting water, mid blue or light green are great colours to start off with.
2. Build layers

Layering your paint by using a glazing method is a great way to capture the different tones in water. You can do this by mixing your paints with a gloss medium to make them more transparent so that subtle hints of the colours underneath come through. This trick will also help you learn how to paint shimmering water and reflections.
3. Paint shallow water with light colours
As you might have already noticed, shallow water is usually lighter than deeper water. You might like to use Turquoise and light green tones for this part of your artwork. Shallow water often has more movement than deeper water so there may be some patterns and ripple effects to add in too.
4. Paint deep water with dark colours

Whether you're looking at how to paint the ocean or you're just wanting to create the illusion of deep water, it can be helpful to turn to darker shades. You can use cool blues and black tones for creating deep water. It’s also usually calmer than shallow water, giving it a consistent colour with more reflections.
5. Add a transparent layer of paint for objects beneath water
Whether it’s driftwood, shells or rocks, chances are that you’ll be able to see them through shallow water. You can create this effect by painting the objects and then adding layers of translucent paint over the top of them until they look partially visible beneath the water. As we mentioned in point 2, you can make your paint more transparent by mixing it with a gloss medium.
6. Paint water reflections leading down from the source

When you’re painting water reflections, remember to paint from the object and down towards you. Check out a photograph of a lake and you’ll see what we mean.
7. Use a large brush for calm water
If you’re painting calm water, think of it as a big mirror reflecting the sky. Since there won’t be ripples to paint, you can use a wide brush to paint large areas of blue.
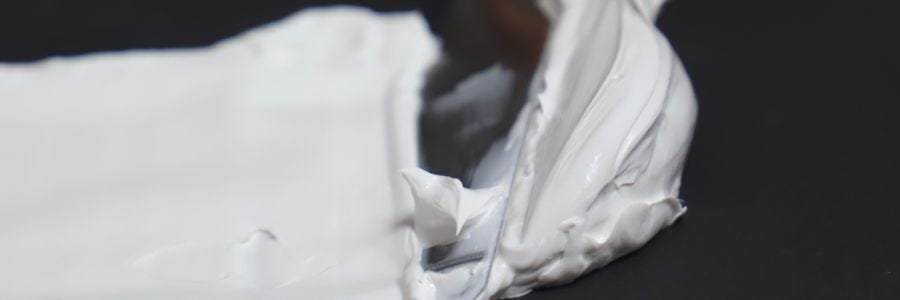
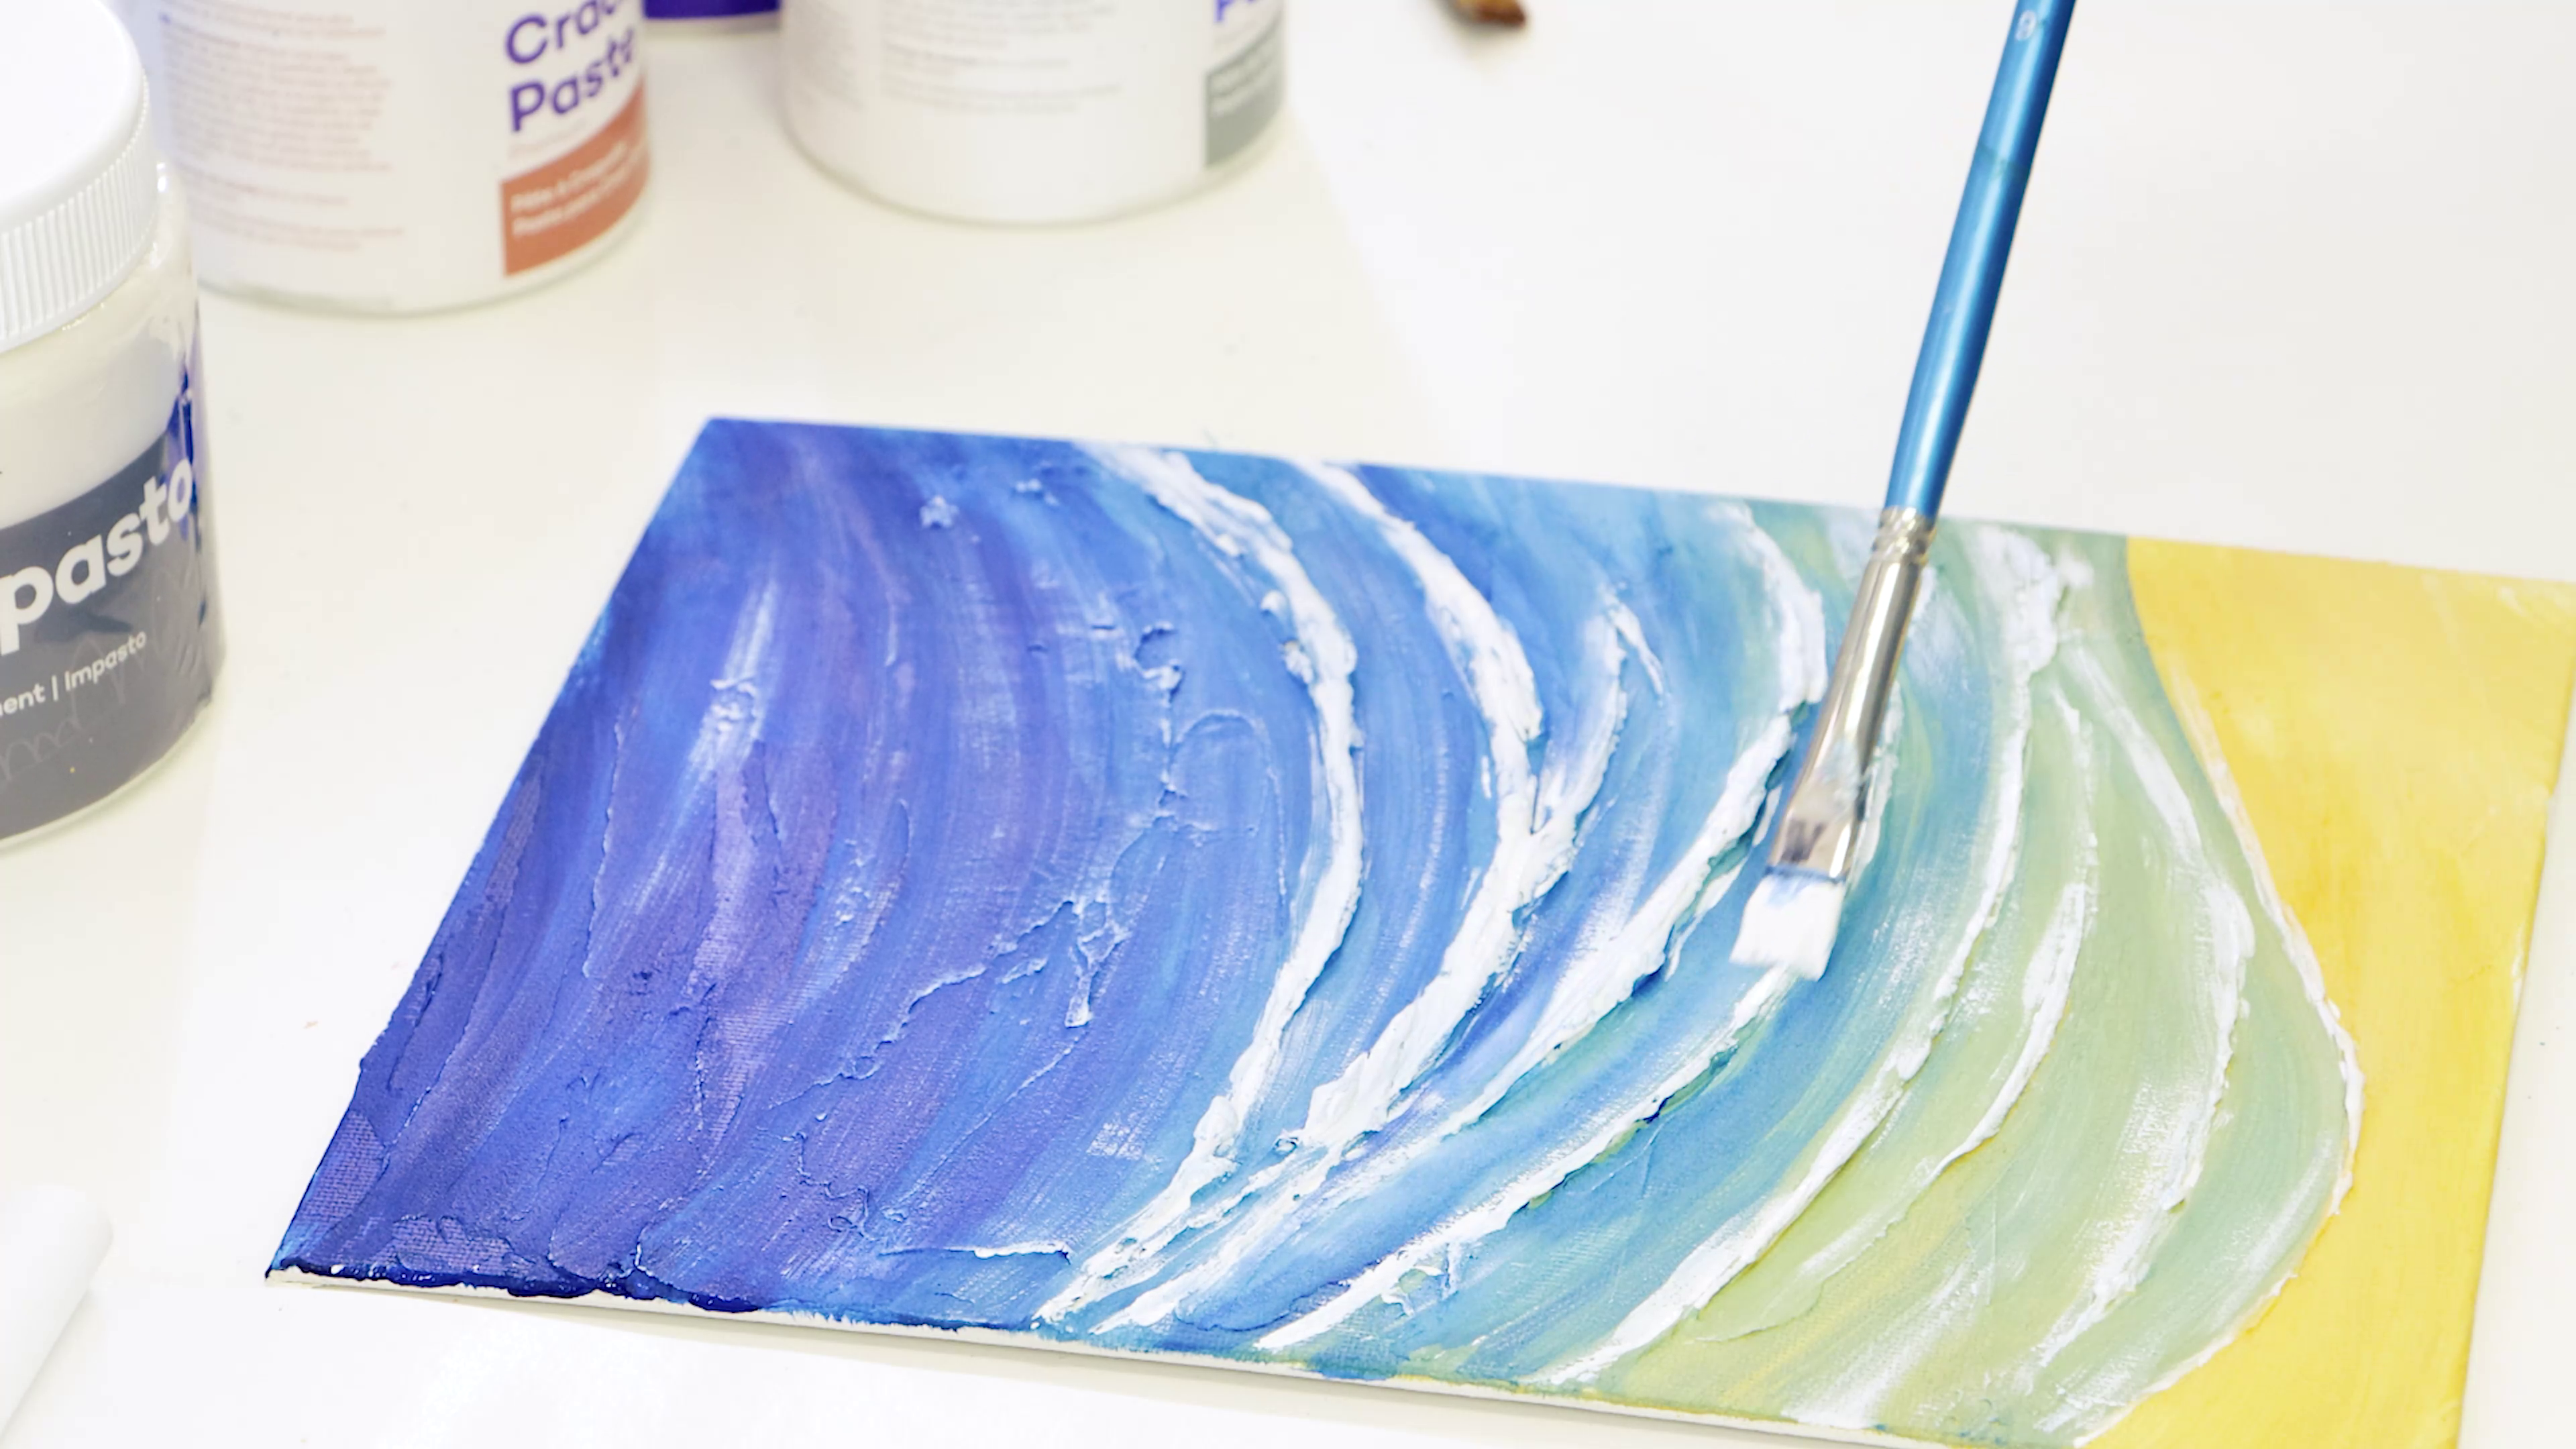
8. Use varying textures to paint fast water

Water looks white when it’s moving quickly because it’s unable to reflect its surroundings. To create rushing water, you can apply Zinc White paint in short and circular brush strokes. If the water is running over a rock, thin the paint using gloss medium so that you can see the rock through it.
9. Use smaller strokes for waves in the distance
Waves and ripples will look smaller the further away they are. This means that you can create the illusion of distance by making thinner marks with less detail for waves that are in the background.
10. Create ripples with a pointed brush

When you look at ripples in a lake, you’ll notice that each ripple usually varies in width. An easy way to achieve this, is by using a pointed brush to create your strokes. Start by pressing gently, then apply more pressure to widen the stroke and take the pressure off again to taper it off at the end.
Need some inspiration? Check out our tutorial on how to paint a waterfall or how to paint a wave to see some of these tips in action. We’d love to see your work, so feel free to tag us on Facebook or Instagram using @montmarteart.